
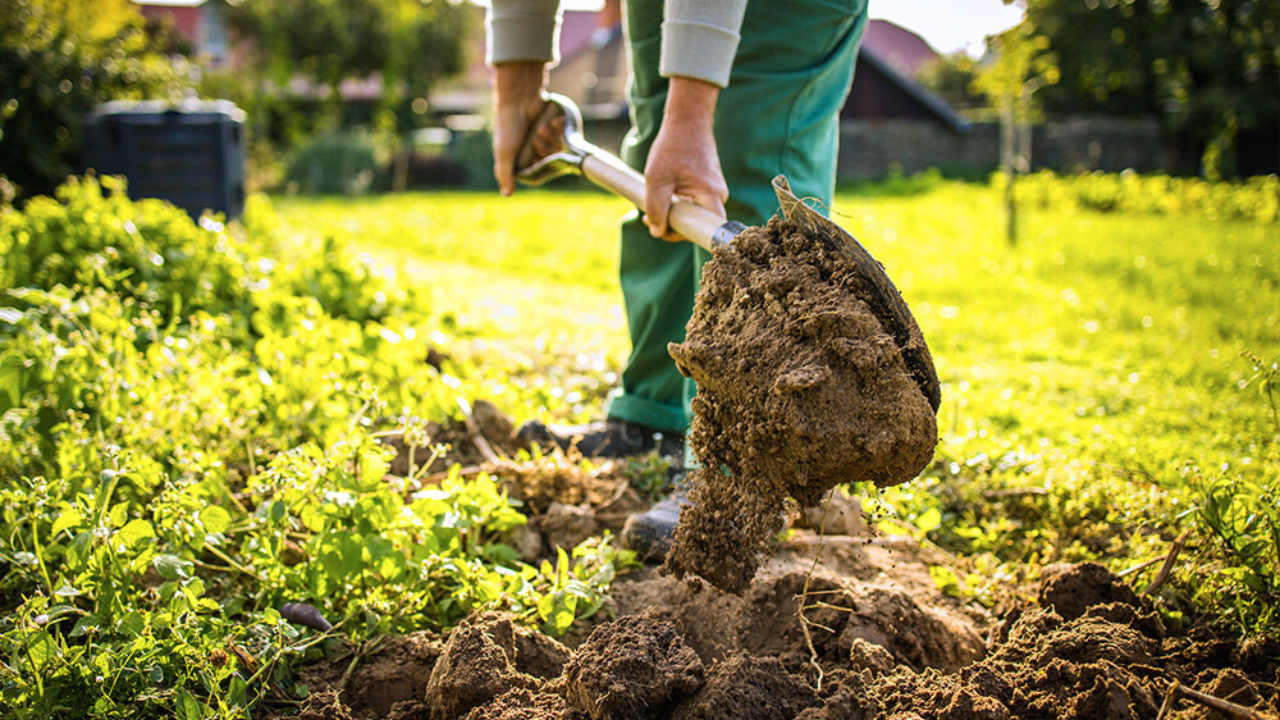
As spring blooms across the Northern Hemisphere on this March 29, 2025, gardeners everywhere are preparing their plots for a season of growth. Yet, beneath the excitement of planting lies a persistent challenge: weeds. These tenacious invaders compete with crops for nutrients, water, and sunlight, often requiring hours of backbreaking labor or chemical interventions to manage. For those seeking a sustainable, eco-friendly solution, soil solarization offers a powerful alternative. This non-chemical method uses the sun’s radiant energy to heat soil, eliminating weeds, weed seeds, and soilborne pests while enhancing soil health. In this comprehensive guide, we’ll explore the science, steps, and benefits of soil solarization, empowering you to reclaim your garden with nature’s own heat.
What is Soil Solarization?
Soil solarization is a time-tested technique that leverages solar energy to pasteurize soil. By covering moist soil with clear plastic for several weeks during the hottest part of the year, gardeners can raise soil temperatures to levels lethal to weeds, pathogens, nematodes, and insects. First documented in the 1970s by Israeli researchers, this method has since gained traction worldwide, particularly among organic gardeners and sustainable living enthusiasts. Unlike herbicides, which leave residues and harm beneficial organisms, solarization works with the environment, using heat to reset the soil’s ecological balance.
The process mimics a greenhouse effect: clear plastic traps sunlight, heating the top 6 to 18 inches of soil to temperatures between 110°F and 140°F (43°C to 60°C), depending on climate and conditions. Wet soil enhances this effect, conducting heat more efficiently and making pests more vulnerable. The result? A weed-free, revitalized planting bed ready for your favorite crops or flowers—all without a drop of chemical intervention.
Why Choose Soil Solarization for Weed Control?
Weeds are the bane of every gardener’s existence. Annuals like crabgrass and pigweed sprout prolifically from dormant seeds, while perennials such as bindweed and Bermuda grass spread via deep roots and rhizomes, defying even the most diligent hand-weeding. Traditional solutions—herbicides, tillage, or endless pulling—come with drawbacks. Chemicals pose risks to pollinators, soil health, and human safety, while tillage can unearth more weed seeds, perpetuating the cycle.
Soil solarization sidesteps these issues. It targets weed seeds and seedlings in the soil’s upper layers, killing them before they emerge. For annual weeds, a few weeks of intense heat can reduce germination by up to 90%, according to a 2024 University of Perugia study. Perennials with shallow roots, like Bermuda grass, also succumb if their rhizomes are near the surface, though deeper structures may require repeated treatments. Beyond weeds, solarization tackles soilborne fungi (e.g., Verticillium wilt), bacteria (e.g., tomato canker), and nematodes, offering a holistic approach to garden prep.
The benefits extend further. Solarization accelerates organic matter breakdown, releasing nutrients like nitrogen, potassium, and calcium into the soil. Plants grown in solarized beds often exhibit faster growth and higher yields, thanks to reduced competition and enhanced nutrient availability. Plus, it’s a hands-off method—once the plastic is in place, the sun does the work, freeing you to plan your garden or enjoy the season.
When and Where to Solarize
Timing is critical for soil solarization. The process thrives in hot, sunny conditions, making summer the ideal season in most climates. In the U.S., June through August—when days are long and temperatures peak—yields the best results. For gardeners in cooler regions like the Northeast, late spring to early summer (late May to July) can still work, provided the forecast promises clear skies. In warmer zones, such as the Southwest or Deep South, solarization can extend into September or October, as seen in Southern California’s Indian summer heatwaves.
Location matters, too. Choose a flat, open area with full sun exposure—shade from trees or buildings will diminish the heat buildup. Raised beds, garden plots, or even lawns being converted to gardens are prime candidates. Sandy soils, which drain quickly, may need extra watering to retain moisture, while clay soils hold heat well but require thorough leveling to ensure even coverage. The method scales to any size, from a small backyard bed to a large field, making it accessible for hobbyists and homesteaders alike.
Step-by-Step Guide to Soil Solarization
Ready to solarize your soil? Follow these 13 steps for effective weed control:
- Clear the Area: Remove existing weeds, plants, and debris. Mow grass short or cut back tall growth to ensure a smooth surface. Avoid leaving sharp stalks that could puncture the plastic.
- Till Lightly (Optional): For compacted soil or heavy weed infestations, lightly till the top 2-4 inches to break up clods and expose weed seeds. Deeper tillage risks bringing viable seeds to the surface, so keep it shallow.
- Level the Soil: Rake the area smooth and flat. Uneven surfaces create air pockets under the plastic, reducing heat efficiency.
- Water Thoroughly: Soak the soil to a depth of 12 inches—moist soil conducts heat better than dry soil. Use a soaker hose or sprinkler, aiming for dampness, not saturation. If rain is forecast, time this step accordingly.
- Choose Your Plastic: Select clear polyethylene sheeting, 1-4 mils thick, available at hardware stores or garden centers. Clear plastic outperforms black, allowing sunlight to penetrate and heat the soil directly. Thicker plastic (4 mils) lasts longer but may trap less heat than thinner options (1-2 mils).
- Lay the Plastic: Spread the sheeting over the prepared area, pulling it taut to minimize air gaps. Overlap edges by 6-12 inches if using multiple sheets, securing them with tape or soil.
- Anchor the Edges: Bury the plastic’s perimeter in a shallow trench (4-6 inches deep) or weigh it down with rocks, bricks, or soil. A tight seal traps heat and prevents wind from lifting the cover.
- Double Up (Optional): For extra heat in cooler climates, add a second layer of plastic, separated by a few inches of air (use spacers like wood or PVC). This can boost soil temperatures by 2-10°F, per research from UC IPM.
- Wait It Out: Leave the plastic in place for 4-6 weeks—longer (6-8 weeks) for perennial weeds or cooler regions. Check periodically for tears or pooling water, repairing with duct tape as needed.
- Monitor Progress: Under the plastic, you’ll see weeds germinate, then yellow and die as heat takes hold. Condensation on the underside signals the process is working.
- Remove the Plastic: After the treatment period, carefully lift the sheeting, avoiding soil disturbance. Reuse it if intact, or recycle where facilities allow.
- Plant or Rest: Sow seeds or transplant immediately for a fall crop, or let the soil rest under mulch or a cover crop until the next season. Avoid deep tilling post-solarization to prevent unearthing viable weed seeds.
- Replenish Soil: Add compost or organic matter to restore beneficial microbes, as solarization may temporarily reduce their populations.
Benefits Beyond Weed Control
Soil solarization’s advantages ripple beyond a weed-free bed. It’s a chemical-free warrior against soilborne pests—think Fusarium wilt, Phytophthora root rot, and root-knot nematodes—reducing reliance on fumigants banned in residential use. The heat also breaks down organic residues, boosting soil fertility with soluble nutrients. A 2023 study from Texas A&M AgriLife Extension found that solarized plots yielded 15-20% higher vegetable harvests compared to untreated controls, thanks to improved disease suppression and nutrient availability.
Beneficial microorganisms, like mycorrhizal fungi and nitrogen-fixing bacteria, often recover quickly post-treatment, outpacing pathogens weakened by the heat. Earthworms and other mobile critters typically burrow deeper to escape, returning once conditions stabilize. This selective impact makes solarization a gentler reset than sterilization, preserving the soil’s living ecosystem over time.
Challenges and Considerations
No method is flawless, and soil solarization has its hurdles. It requires patience—4-8 weeks of downtime can delay planting in short growing seasons. Weather is a wild card; cloudy spells or unexpected rain can lower temperatures, reducing efficacy. In arid climates, water demands may strain resources, while sandy soils need frequent monitoring to stay moist.
Perennial weeds with deep roots (e.g., quackgrass, dandelions) may survive, necessitating repeat solarizations or spot treatments. The plastic itself poses an environmental conundrum—while reusable for years if thick enough, it eventually degrades, contributing to waste. Gardeners can mitigate this by sourcing used greenhouse plastic or opting for biodegradable films where available, though these are costlier and less common.
Solarization also kills indiscriminately, affecting beneficial organisms in the short term. While they rebound, sensitive ecosystems may need extra care post-treatment. For small weed patches, hand-pulling or mulching might suffice, reserving solarization for larger, intractable problems.
Success Stories and Real-World Applications
Gardeners worldwide swear by solarization’s transformative power. In California’s Central Valley, organic farmer Lisa Moreno solarized a weed-choked plot in July 2024, eliminating 95% of annual weeds and planting a thriving fall crop of kale and carrots by September. “It’s like hitting reset,” she told Organic Gardening. “No sprays, no fuss—just sun and patience.”
Closer to home, a 2025 community garden project in Minneapolis used solarization to convert a grassy lot into a vegetable haven. After six weeks under plastic in June and July, the team reported near-total weed suppression, crediting the method for their bumper harvest of tomatoes and peppers. These stories highlight solarization’s scalability, from backyard beds to urban plots.
Tips for Maximizing Effectiveness
- Prep Well: Remove debris and level meticulously—consistency is key to uniform heating.
- Moisture Matters: Check soil dampness before and during treatment; add water via drip lines under the plastic if it dries out.
- Extend the Edges: Cover beyond the target area, as edges stay cooler and may harbor surviving weeds.
- Combine Tactics: Pair solarization with biosolarization—adding compost or green manure beforehand—to amplify pest control and nutrient release.
- Monitor Temps: Use a soil thermometer to ensure the top 6 inches hit at least 110°F for several weeks.
Soil Solarization in 2025 and Beyond
As climate patterns shift and sustainability gains urgency, soil solarization is poised for growth. Innovations like UV-stabilized plastics and biodegradable alternatives promise to reduce its environmental footprint. Research into shorter treatment times—using reflective mulch or heat-retaining additives—could make it viable in cooler climates, broadening its reach.
For now, it remains a gardener’s secret weapon: simple, effective, and rooted in nature’s rhythms. Whether you’re battling bindweed in a raised bed or prepping a new plot, solarization offers a path to cleaner soil and stronger plants. As the sun climbs higher this spring, consider harnessing its power. Your garden—and the planet—will thank you.
-
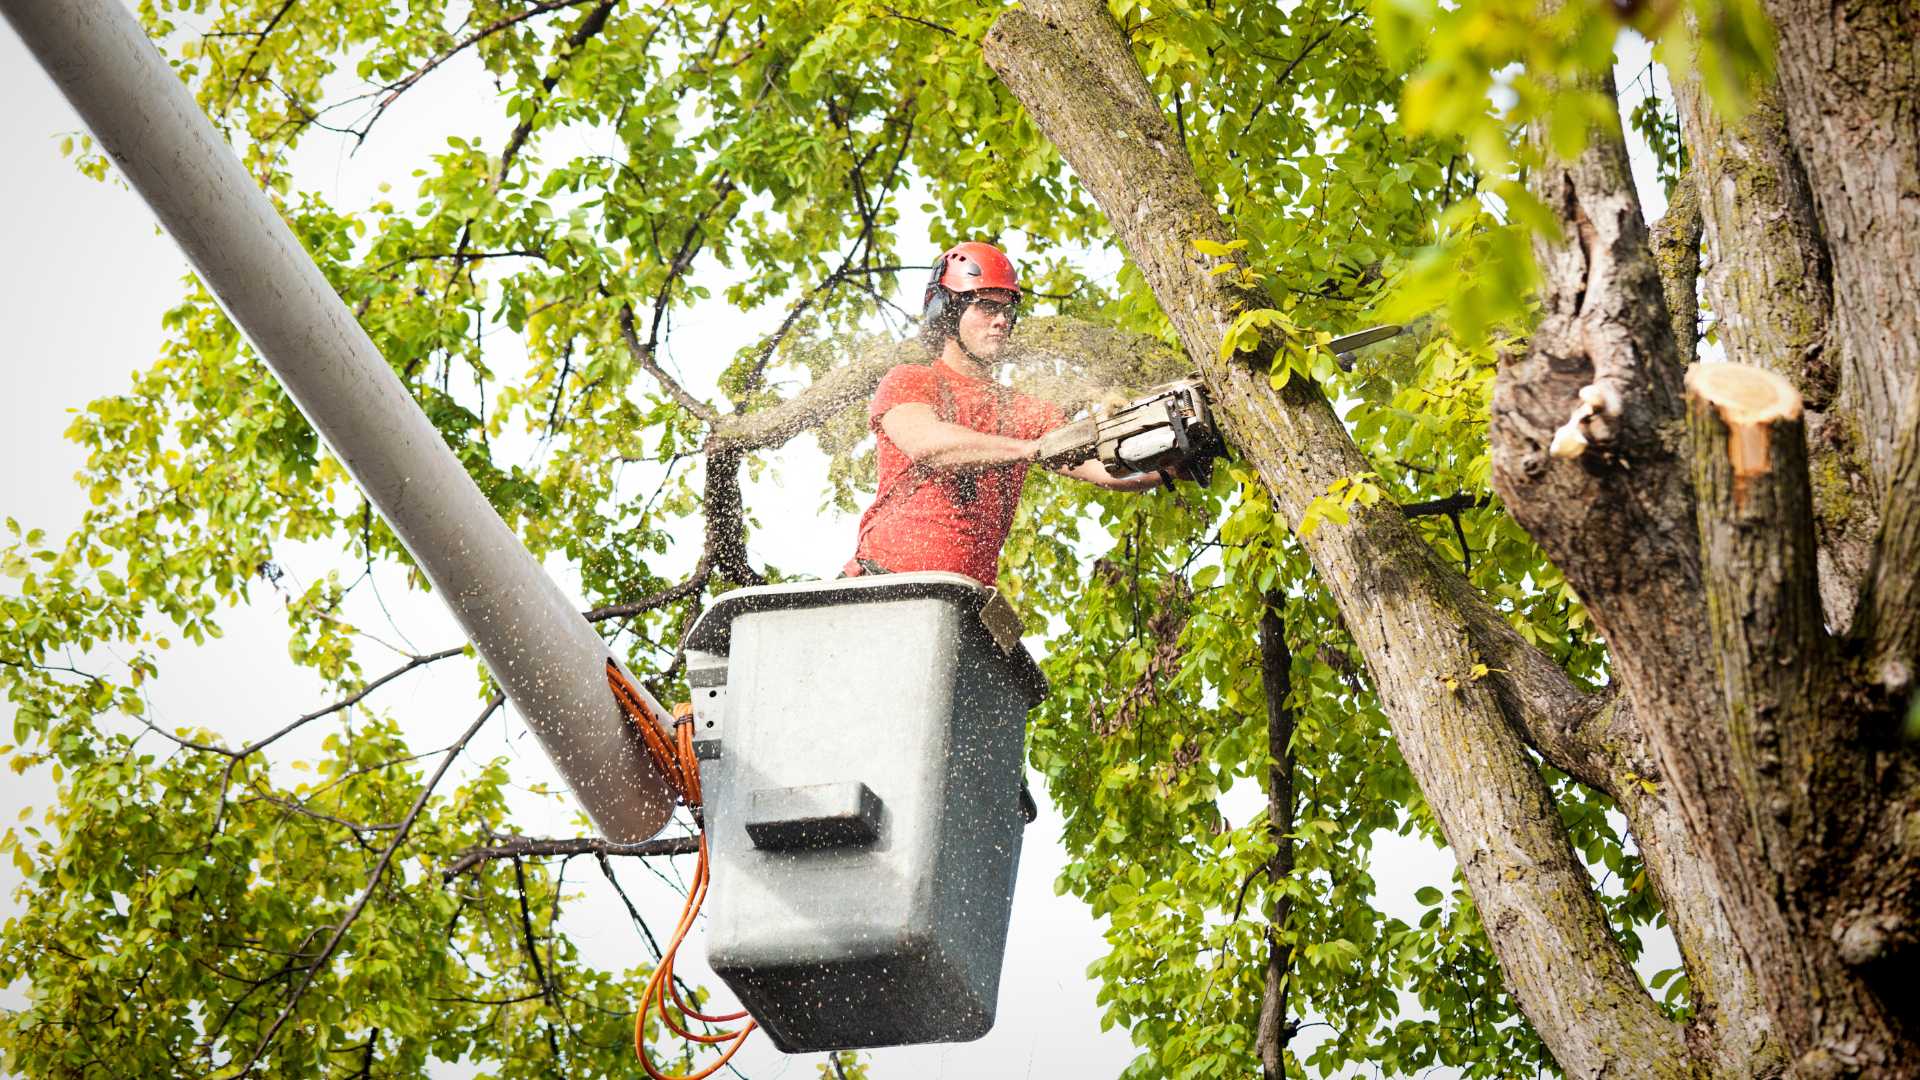
Georgia Tree Company’s Professional Tree Service in Atlanta – Expert Care for Your Trees
-
Tree Trimming & Pruning in Alpharetta, GA: A Comprehensive Guide
-

Is Your Tree Leaning? Here’s What Duluth, GA, Homeowners Should KnowHow Tree Chipping Services Work
-
How Tree Chipping Services Work: A Comprehensive Guide
-
Can You Plant a Tree Where One Was Recently Removed?
-

How to Grow a Food Forest for Free and Cheap: A Comprehensive Guide Inspired by Ashley’s Insights
-
How to Enjoy Time in Your Garden This Winter: A Comprehensive Guide
-
Garden Design on a Budget: Affordable Ideas for a Beautiful Garden
-
15 Easiest Ground Covers that Thrive in Shade: A Comprehensive Guide
-
10 Best Flowering Ground Covers for Full Shade: A Comprehensive Guide